
How to Set Up Event Waitlists in Dynamics 365 Customer Insights – Journeys
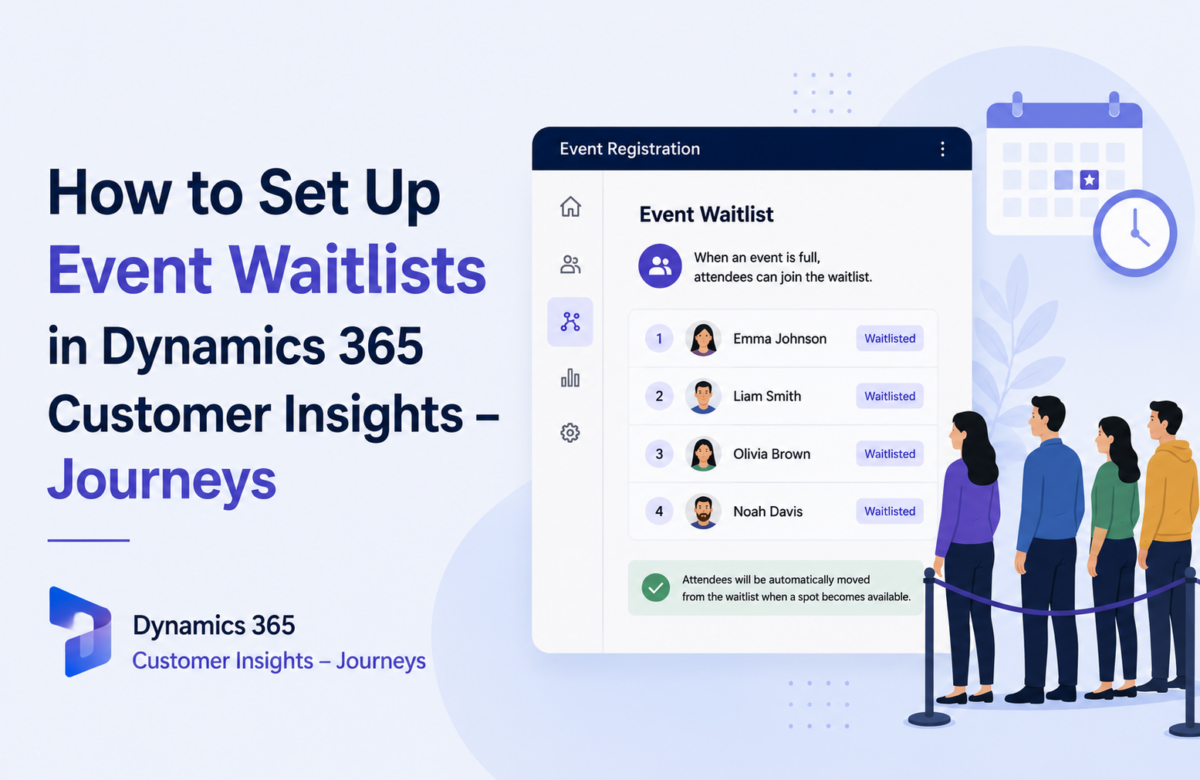
Every marketer who has run a popular webinar knows the moment. Registrations blow past your platform’s seat cap, and now you’re choosing between turning people away or babysitting a side spreadsheet to track who’s next. I’ve seen that spreadsheet in more client accounts than I can count usually a shared Excel file, usually owned by whichever coordinator happened to set it up first, and usually forgotten the moment that person goes on leave. Meanwhile three people quietly cancel the day before the event and nobody notices until it’s too late to fill the seats.
Dynamics 365 Customer Insights Journeys has a built-in fix for this: event waitlisting. Instead of losing interested contacts the second your event hits capacity, the platform queues them and can refill open seats on its own. No spreadsheet, no coordinator manually cross-checking a list at midnight. It’s a small feature on paper, but it’s exactly the kind of detail that separates a rushed setup from a Dynamics 365 CRM implementation that’s actually been thought through. Here’s how it works, and how to set one up for a single-session webinar.
Why This Actually Matters
Most marketing teams don’t think about capacity until the week they blow past it. Someone runs a promo, registrations spike harder than expected, and suddenly the person managing the event is staring at a number the platform simply won’t go above. It’s a good problem to have, in theory strong demand, engaged audience but only if you actually do something with the overflow instead of quietly turning it away at the door.
Before native waitlisting, teams solved this by hand. It worked, technically. But it didn’t scale past one or two events a month, and a seat could sit empty for three days simply because nobody got around to checking the overflow list. I’ve watched a client lose a genuinely engaged prospect this way someone who’d waitlisted for a product demo, never got contacted when a slot opened, and ended up buying from a competitor instead. That’s the actual cost of a manual waitlist: not inconvenience, lost pipeline.
A native waitlist closes that gap. Every overflow sign-up becomes a tracked record instead of a bounce, and the system can promote the next person in line the instant a seat frees up. It’s a small example of what modern Dynamics 365 CRM solutions actually buy a marketing team not flashy features, just fewer places for real pipeline to quietly leak out.
How the Feature Actually Works
Configuring this comes down to two settings on the event record. First, you tell the system how many people the event can hold this can be set at the whole-event level, or per session if you’re running something with multiple breakout tracks. Second, you decide what should happen once that number is reached: does D365 keep collecting names for later, or does it try to fill gaps as they open on its own?
That second question is really a choice between two operating modes. One hands the whole process to the system it watches for cancellations and, the moment a seat is free, pulls in whoever’s been sitting in the queue longest, no approvals needed. The other keeps a person in the loop: the system tells you who’s next, but nothing happens until someone actually reaches out and confirms the seat is still wanted. We generally recommend the first for high-volume public webinars where speed matters more than a personal touch, and the second for smaller or invite-only events where you’d rather vet who gets the seat.
Both modes ultimately come down to a single data point sitting on every registration record whether it currently reads “Waitlisted” or “Registered.” Every automation you build, from journeys to reporting, is really just reacting to that one value changing. Worth remembering the first time you’re debugging why something didn’t fire the way you expected.
Setting Up the Waitlist for a Single-Session Webinar
For a webinar with no multi-session agenda, this takes a handful of steps directly on the event record.
Open your event in the Customer Insights Journeys app, under Event Planning > Events. Leave the publish status as Draft while you configure it. On the General tab, find the Capacity section and set the maximum to whatever number your webinar platform can actually handle check the platform’s own limit first, because setting D365’s capacity higher than what your streaming tool supports just moves the failure point somewhere less visible. Flip “Enable waitlist” to Yes. That reveals “Auto-register waitlisted contacts,” which defaults to No set it to Yes if you want automatic backfill, or leave it off for manual review.
Then hit Go Live. This publishes the event and generates a unique registration URL, which you drop into an email and send out through a journey to your target segment. From that point on, anyone registering after capacity is reached sees a waitlist option instead of a standard confirmation, and their record is created with a status reason of Waitlisted.
For a deeper look at how registration forms and confirmation flows behave, Microsoft’s documentation on the event registration experience in Customer Insights – Journeys covers the full range of configuration options.
Journey Triggers: Keeping People in the Loop
A waitlist that never tells anyone where they stand isn’t much better than no waitlist at all. Two triggers exist specifically for this, and they cover opposite ends of someone’s time in the queue.
The first one, Marketing event registration created, is your entry point into the waitlist experience it goes off the second a record lands there, so it’s the natural hook for a quick “you’re in the queue, sit tight” note. The second, Marketing registration created from waitlist, only fires once that same record has actually moved to Registered, making it the right place to send the real payoff: join link, calendar invite, the works.
A simple setup just sends a confirmation email on registration. Most of the accounts we work with eventually layer in a reminder sequence or a custom trigger keyed off status-reason changes, but that’s a second-phase build, not a day-one requirement Microsoft’s custom trigger documentation is a good starting point once you’re ready for it.
A Few Things Worth Knowing Before You Roll This Out
Set capacity to what your platform can genuinely handle, not an aspirational number the whole waitlist logic hinges on that ceiling being real. Test both journey triggers before going live; a broken confirmation email quietly defeats the entire point of having a waitlist. And if you’re running invite-only or VIP-heavy events, think twice before defaulting to auto-register we’ve seen it backfire when a high-priority prospect gets skipped simply because they registered a few minutes after someone less important. If you’re not sure which mode fits your event calendar, that’s a five-minute conversation worth having with a Dynamics 365 CRM consultant before you flip the switch, not after.
If you want the full field by field breakdown before making changes, Microsoft’s official guide to setting up and managing waitlists is worth bookmarking.
When It Makes Sense to Bring In Outside Help
Waitlisting is a small corner of what Customer Insights Journeys can do, but it’s a fair example of a broader pattern in Dynamics 365: a toggle that looks trivial can quietly touch capacity planning, segmentation, journey design, and reporting all at once. We’ve walked into more than one account where the waitlist was technically “on” but nobody had tested the confirmation journey, so registrants sat waitlisted indefinitely with no idea a seat had opened.
At Vaden Consultancy, this is the kind of gap we look for when we take on an event-automation build mapping capacity rules, backfill behavior, and journey triggers before launch instead of patching them after a campaign has already gone sideways.
Conclusion
Event waitlisting turns a process that used to run on a forgotten spreadsheet into something the CRM handles on its own. Set your capacity honestly, pick a backfill approach that matches the event, wire up both triggers, and actually test them before you go live. That last part is the one teams skip, and it’s the one that actually matters. If your team doesn’t have the in-house bandwidth to get this right on the first pass, it’s usually faster to hire a Dynamics 365 developer who’s already built this exact flow than to figure it out under a campaign deadline.
Frequently Asked Questions
How do I enable a waitlist in Dynamics 365 Customer Insights Journeys?
It’s a couple of settings on the event record itself set a maximum capacity, then flip the waitlist option on. From there you get to choose whether overflow registrants get seated automatically or wait for someone to reach out to them.
What happens once a Dynamics 365 event fills up?
Nothing gets rejected outright new sign-ups still create a registration record, just tagged Waitlisted rather than Registered, so the person stays visible and reachable instead of disappearing from the funnel.
Will Dynamics 365 fill empty seats on its own after a cancellation?
It can, if you’ve turned that option on. Left off, someone still has to reach out and offer the seat; turned on, the system just does it no one has to notice the cancellation happened.
Which journey triggers are built specifically for waitlisting?
There’s one for the moment someone joins the queue and a separate one for the moment they get bumped up to a confirmed seat, so you can message both ends of the wait without building custom logic.
Is this something we can configure ourselves, or does it need outside help?
The toggles themselves are simple enough for most in-house teams. Where it gets harder is making sure capacity, journeys, and reporting all stay in sync as campaigns change that’s usually the point where an experienced Dynamics 365 CRM consultant is worth bringing in.
Follow VADEN Consultancy on LinkedIn for more insights on Microsoft Dynamics 365, Business Central, Power Platform, Power BI, AI, Azure Cloud, CRM, ERP, automation, cybersecurity, and business technology.